Scow Schooner hull design
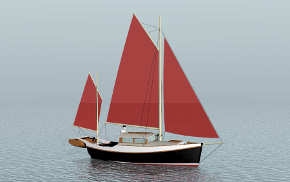
Making a simple cardstock hull model of my 32′ x 11′ cruising scow schooner.
Explaining a shape can sometimes be difficult. So I encourage potential builders to make a simple model. Even something very crude teaches all kinds of lessons in how a boat might go together. Having something to hold in your hand is totally different than a picture on a screen.
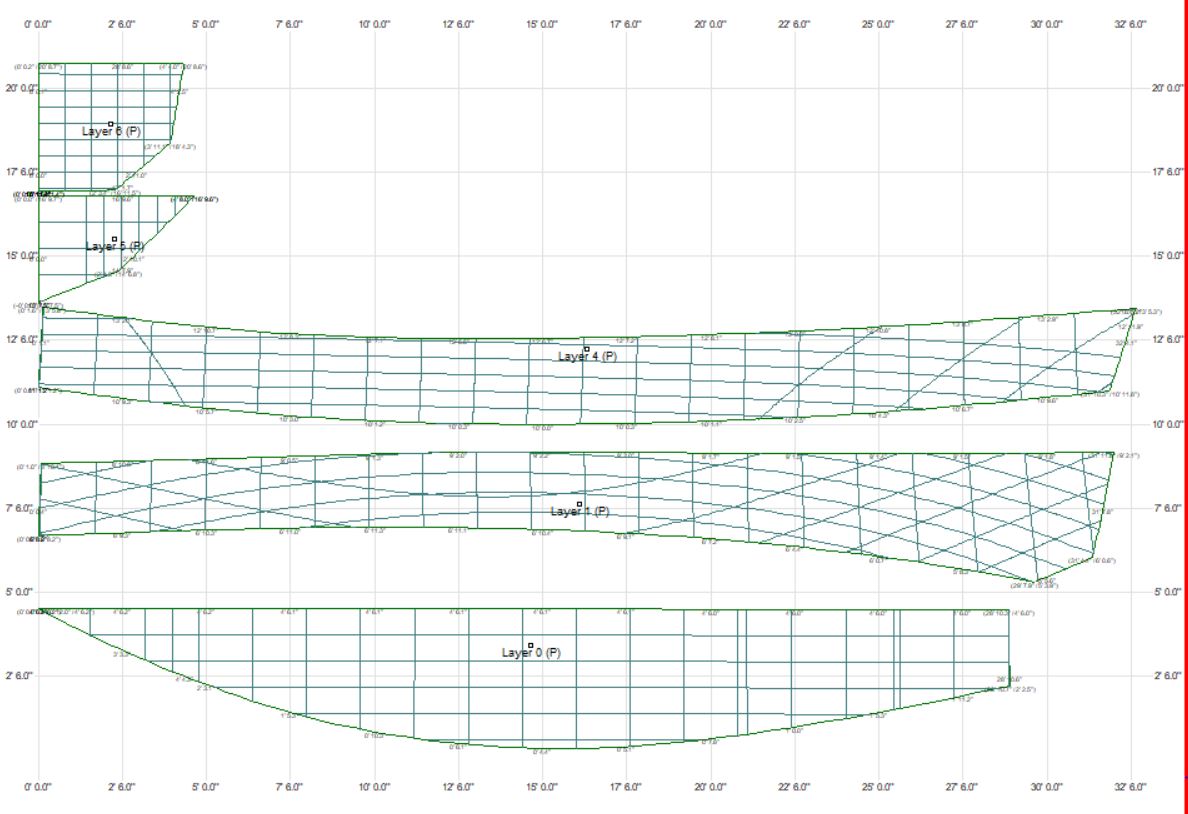
We start with the flattened panel patterns. Print two sheets the same. I used 110 lb letter size cardstock because that’s what I had on hand, something a bit stiffer (heavier) would be better. The stiffer (thicker) the material is, the fairer the surface will be.
The centerline bottom and bow and stern transoms need to be trimmed close along the centerline and taped together.
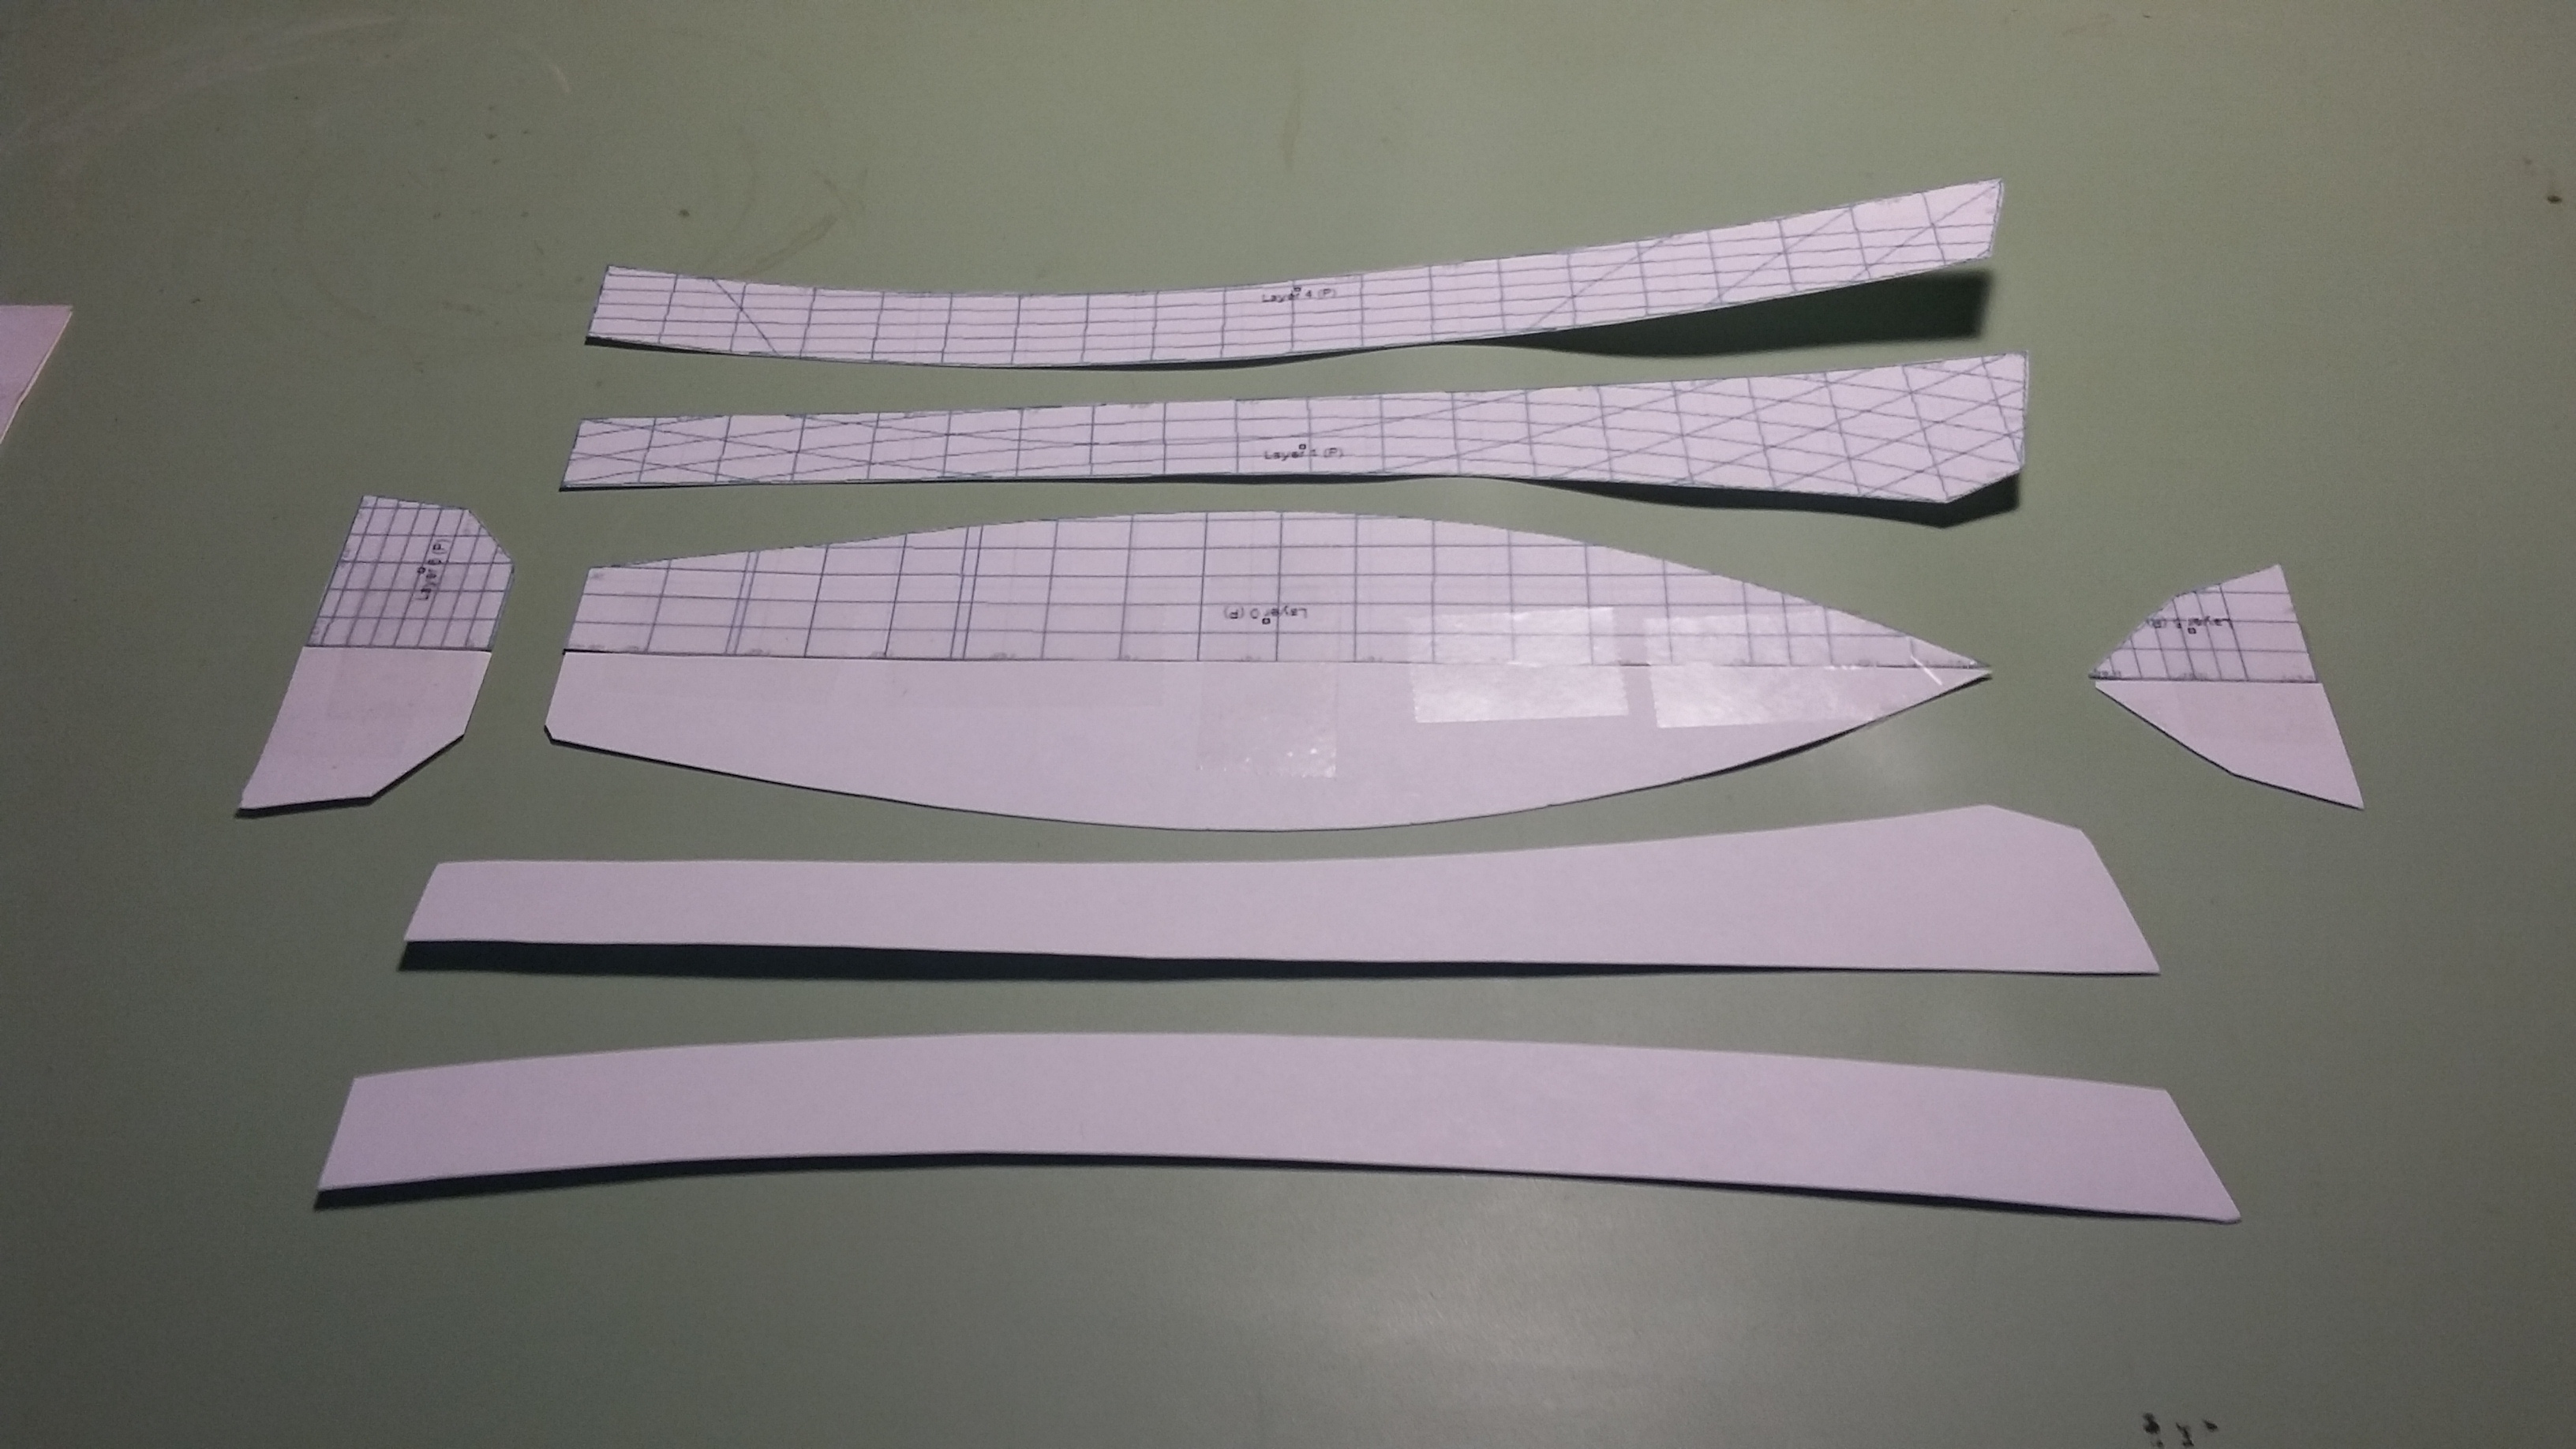
Here are all parts laid out.
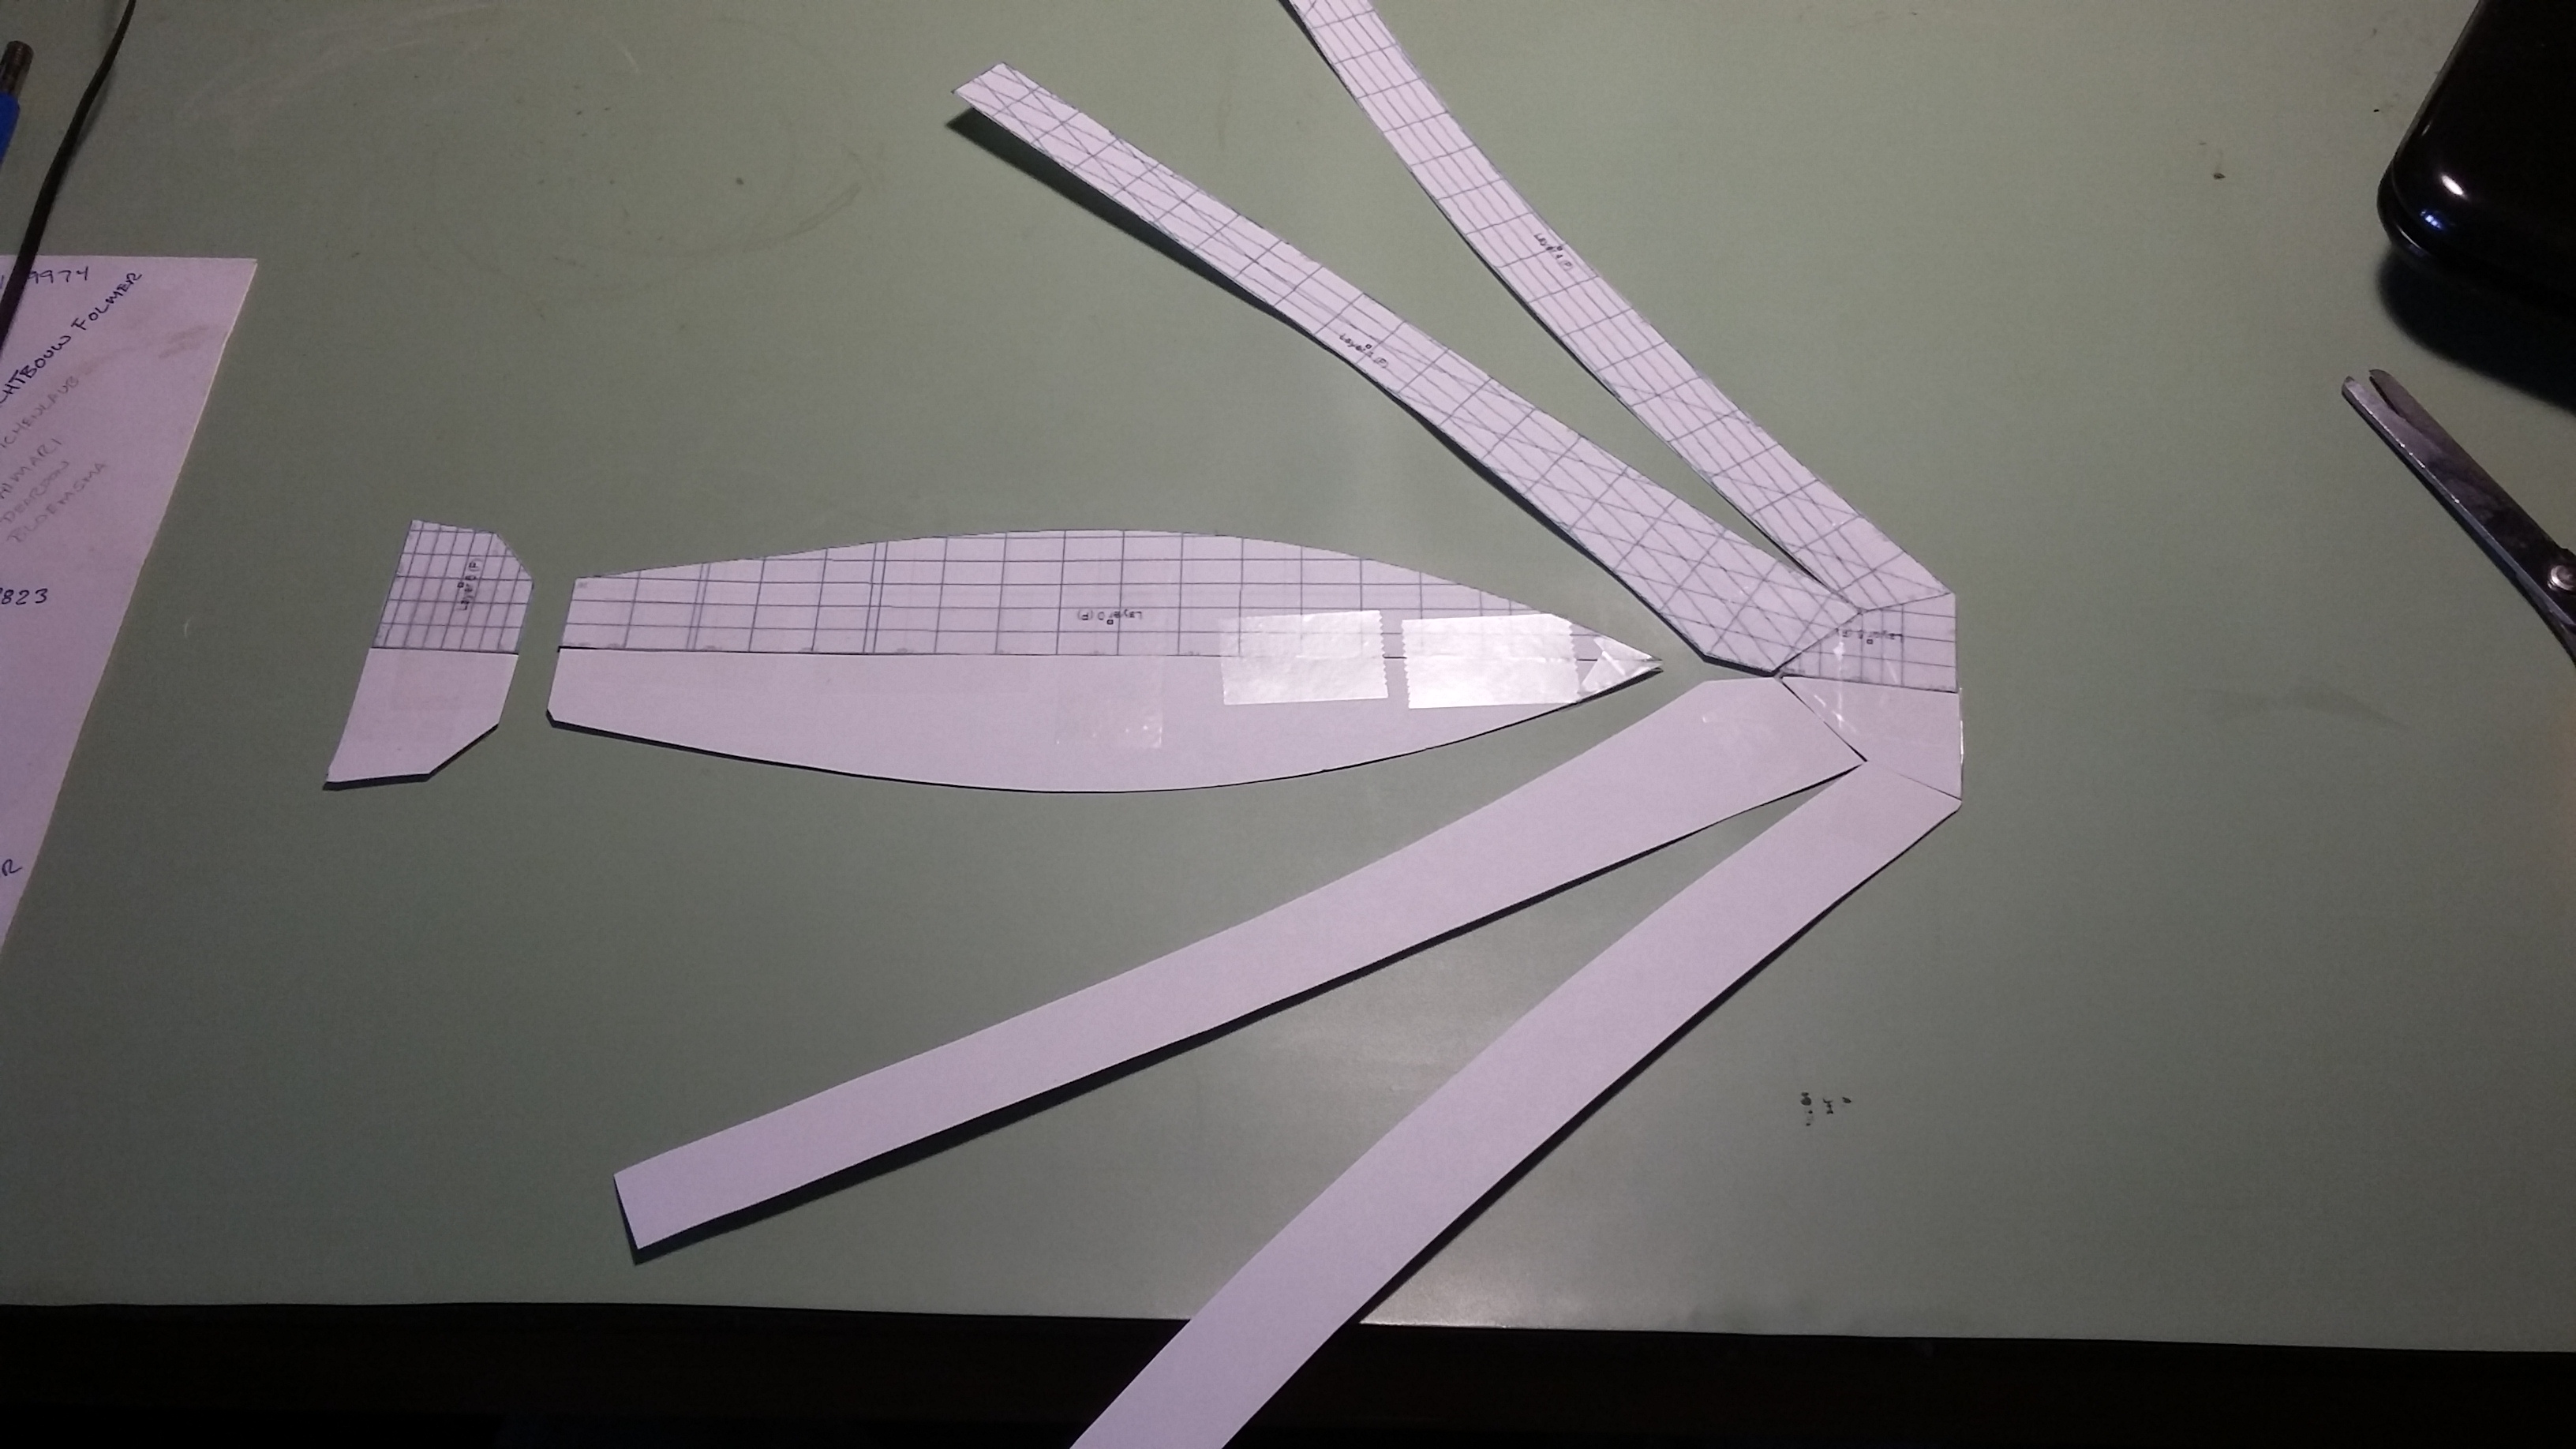
Here I taped the topside panels to the bow transom, you could also start by taping the topsides to the stern transom. Next I pinched the lower topsides together and taped the leading edge under the bow transom. Then I taped the stern transom to the hull bottom.
Then fold the stern transom up vertical and tape the lower topsides to the stern transom.
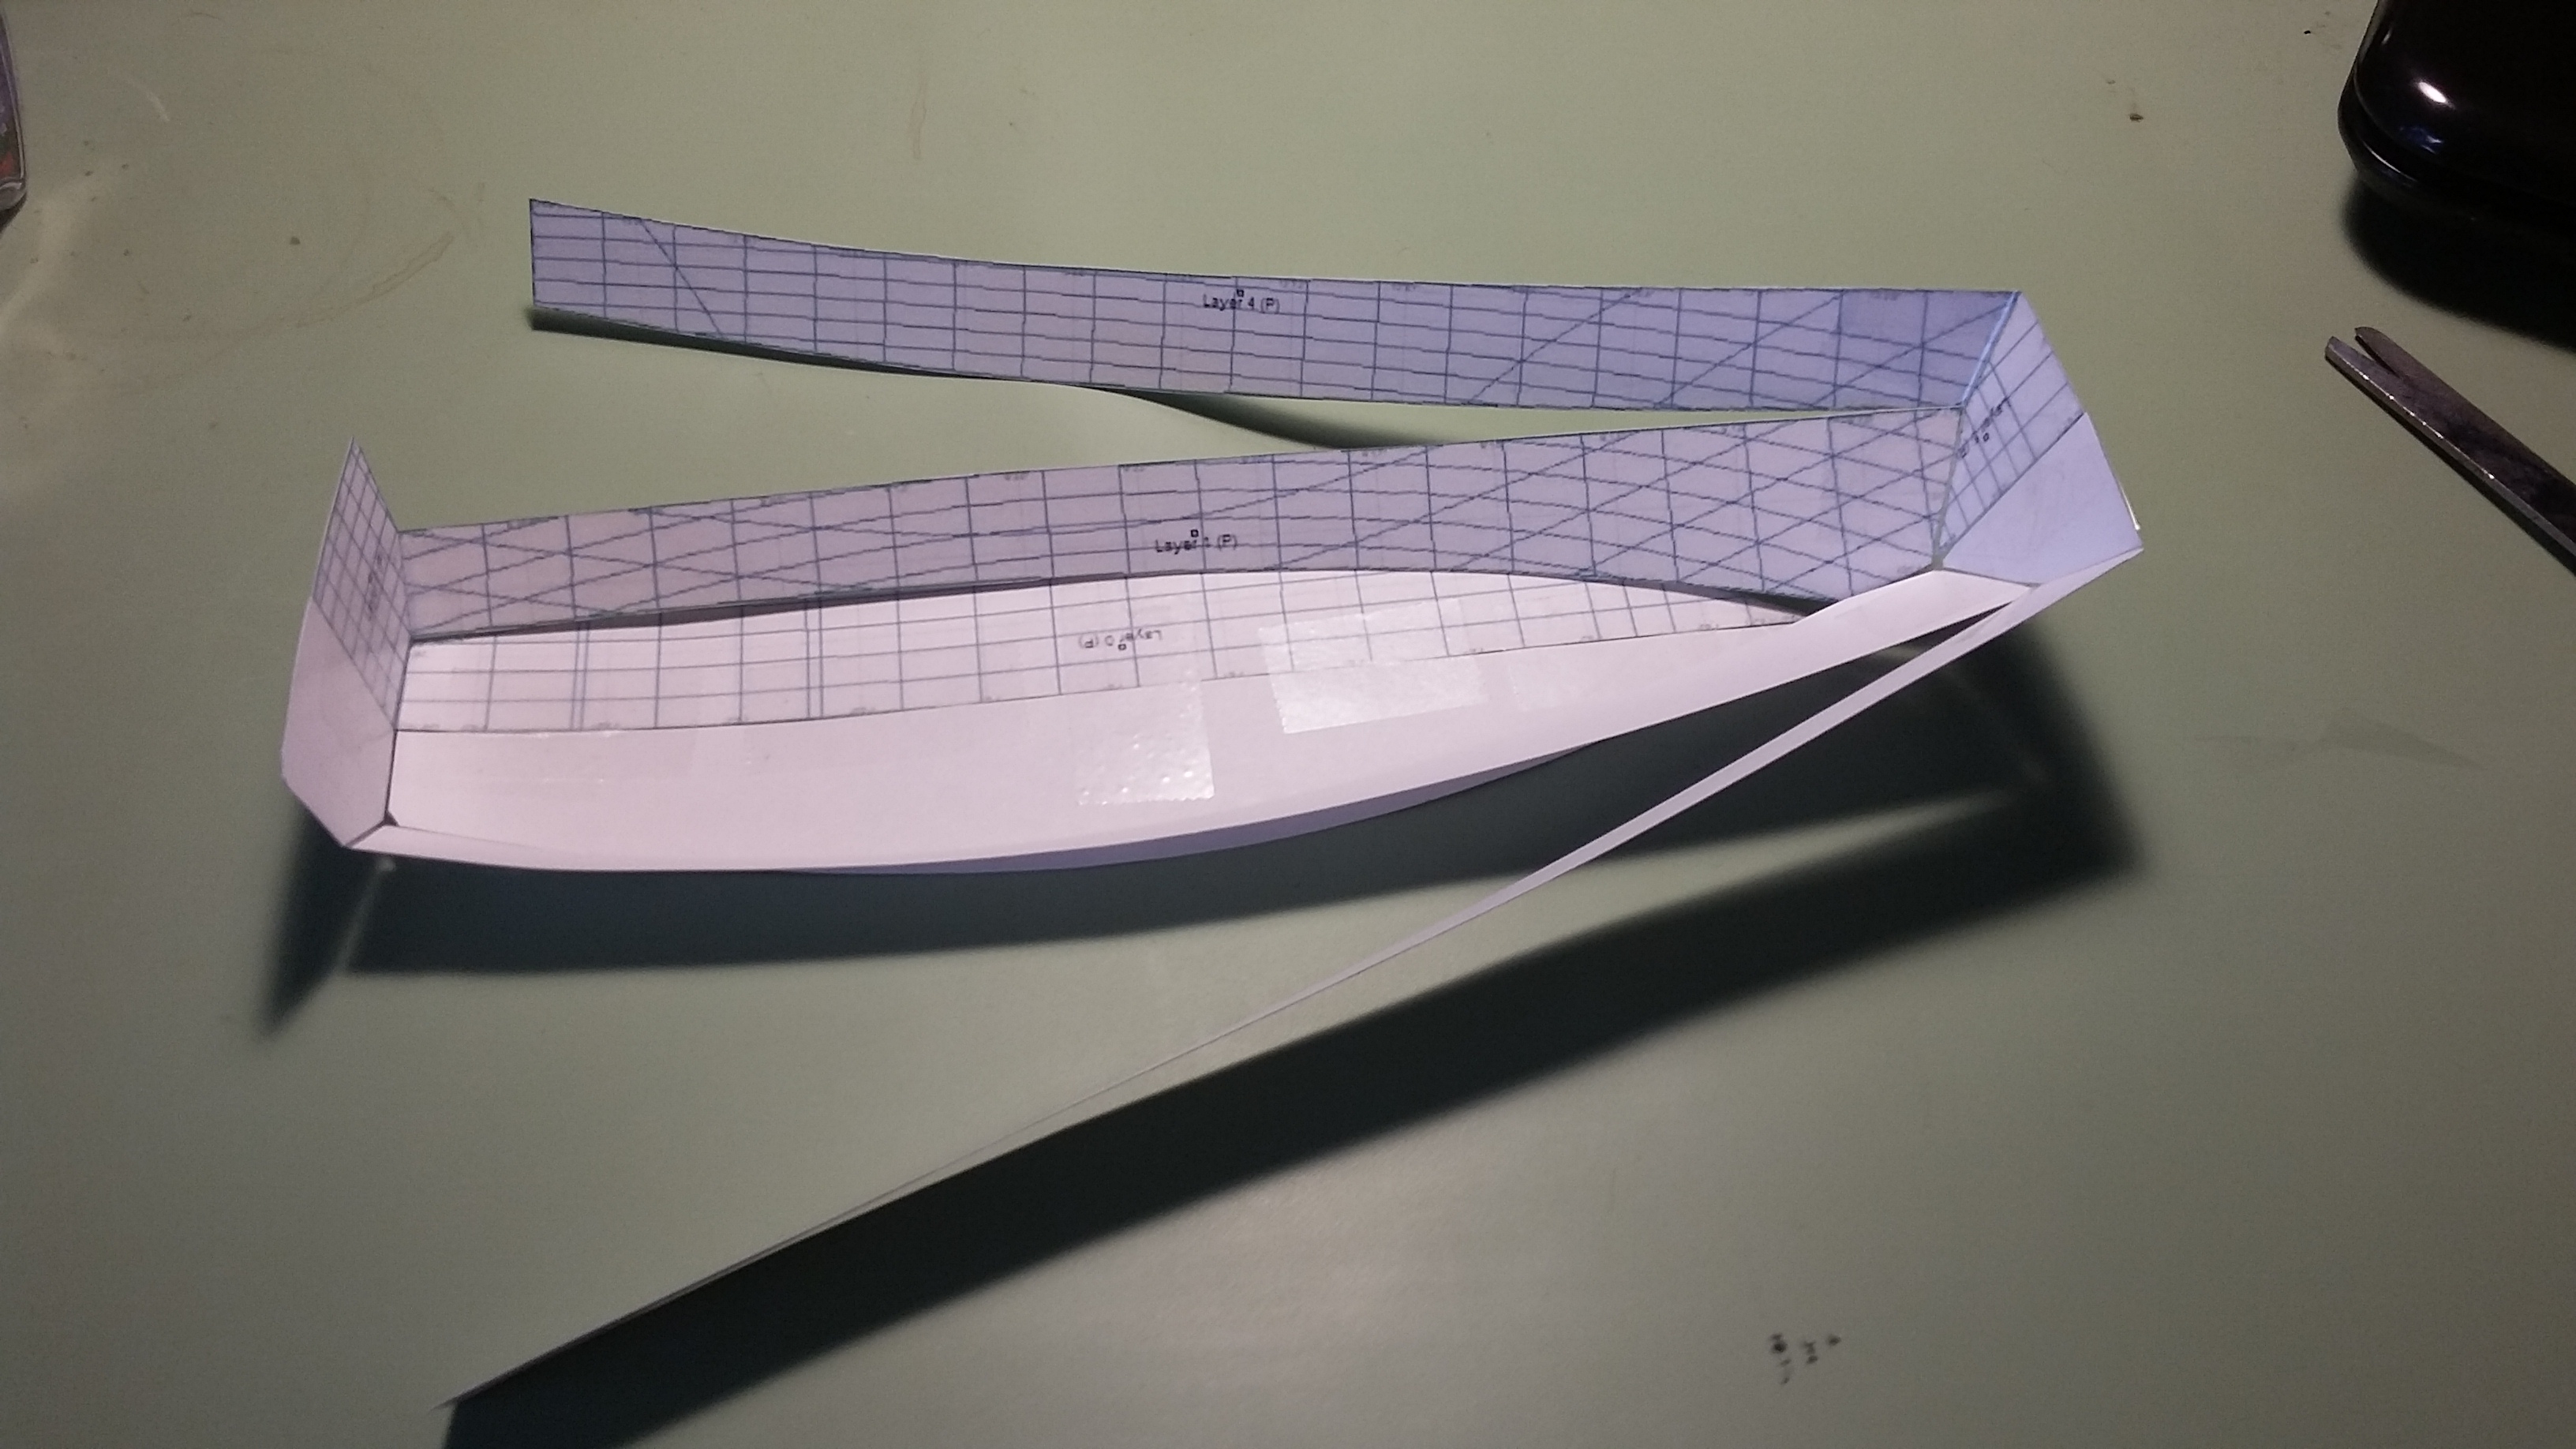
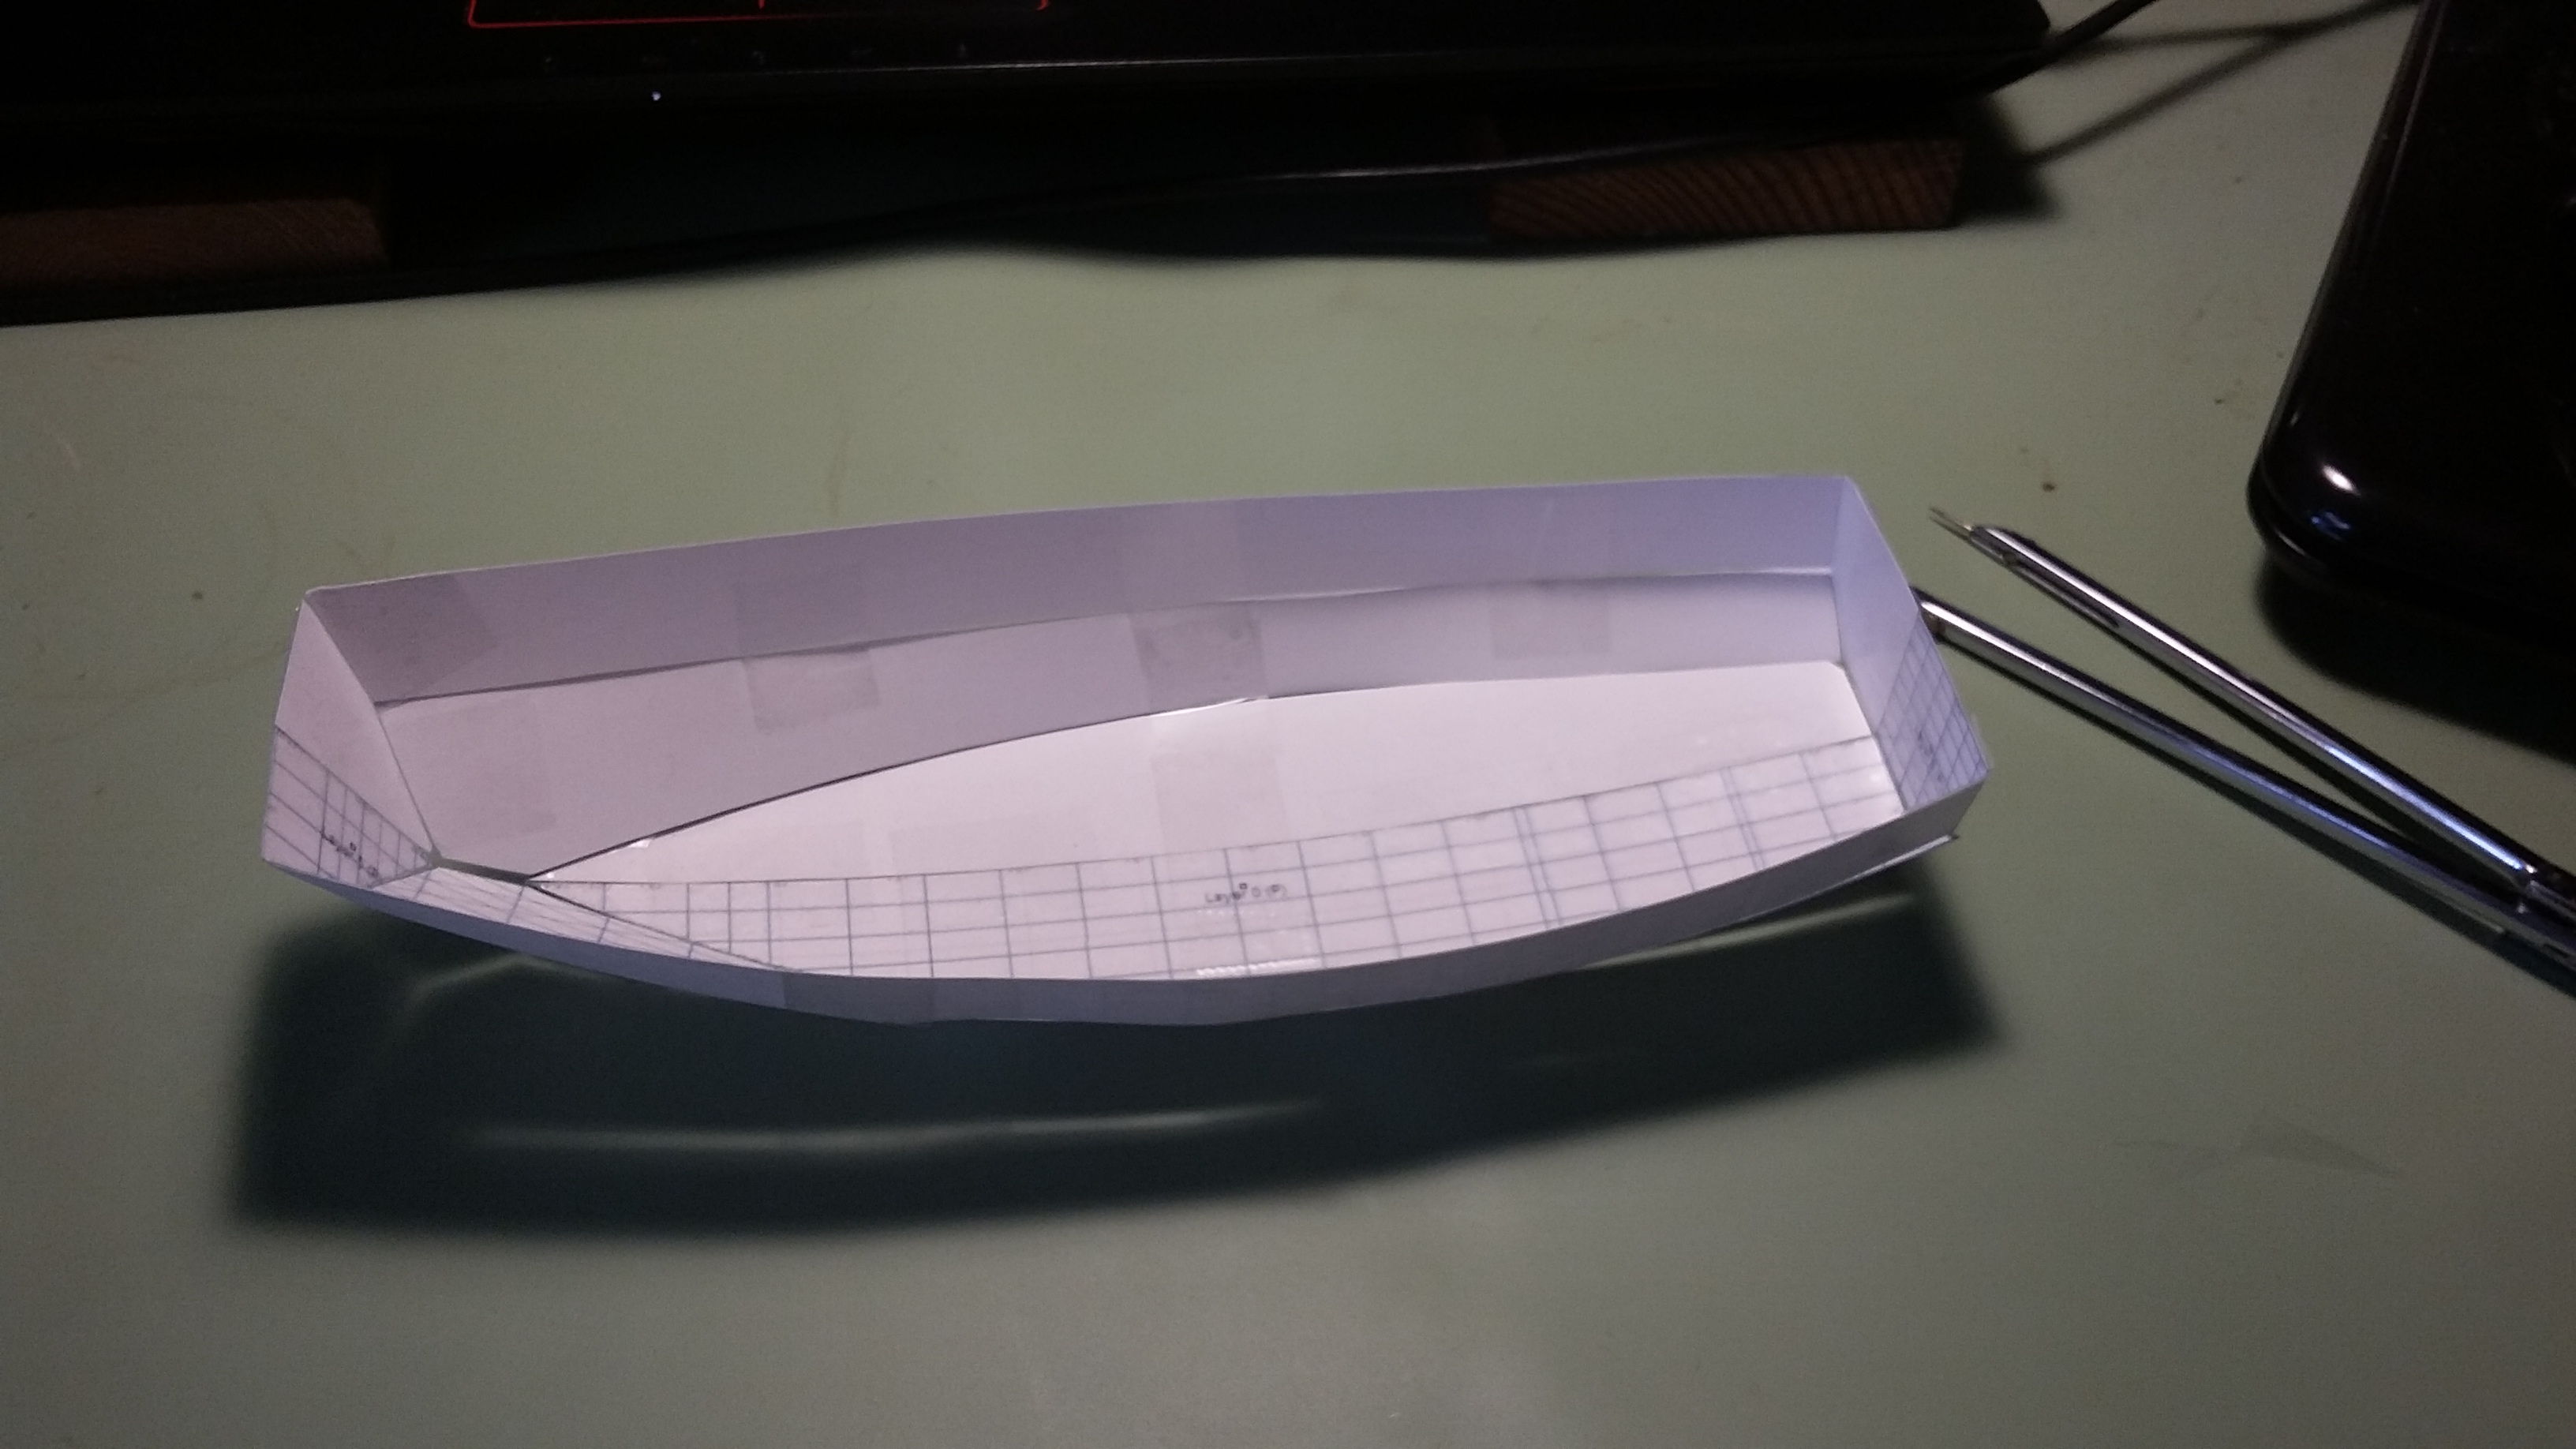
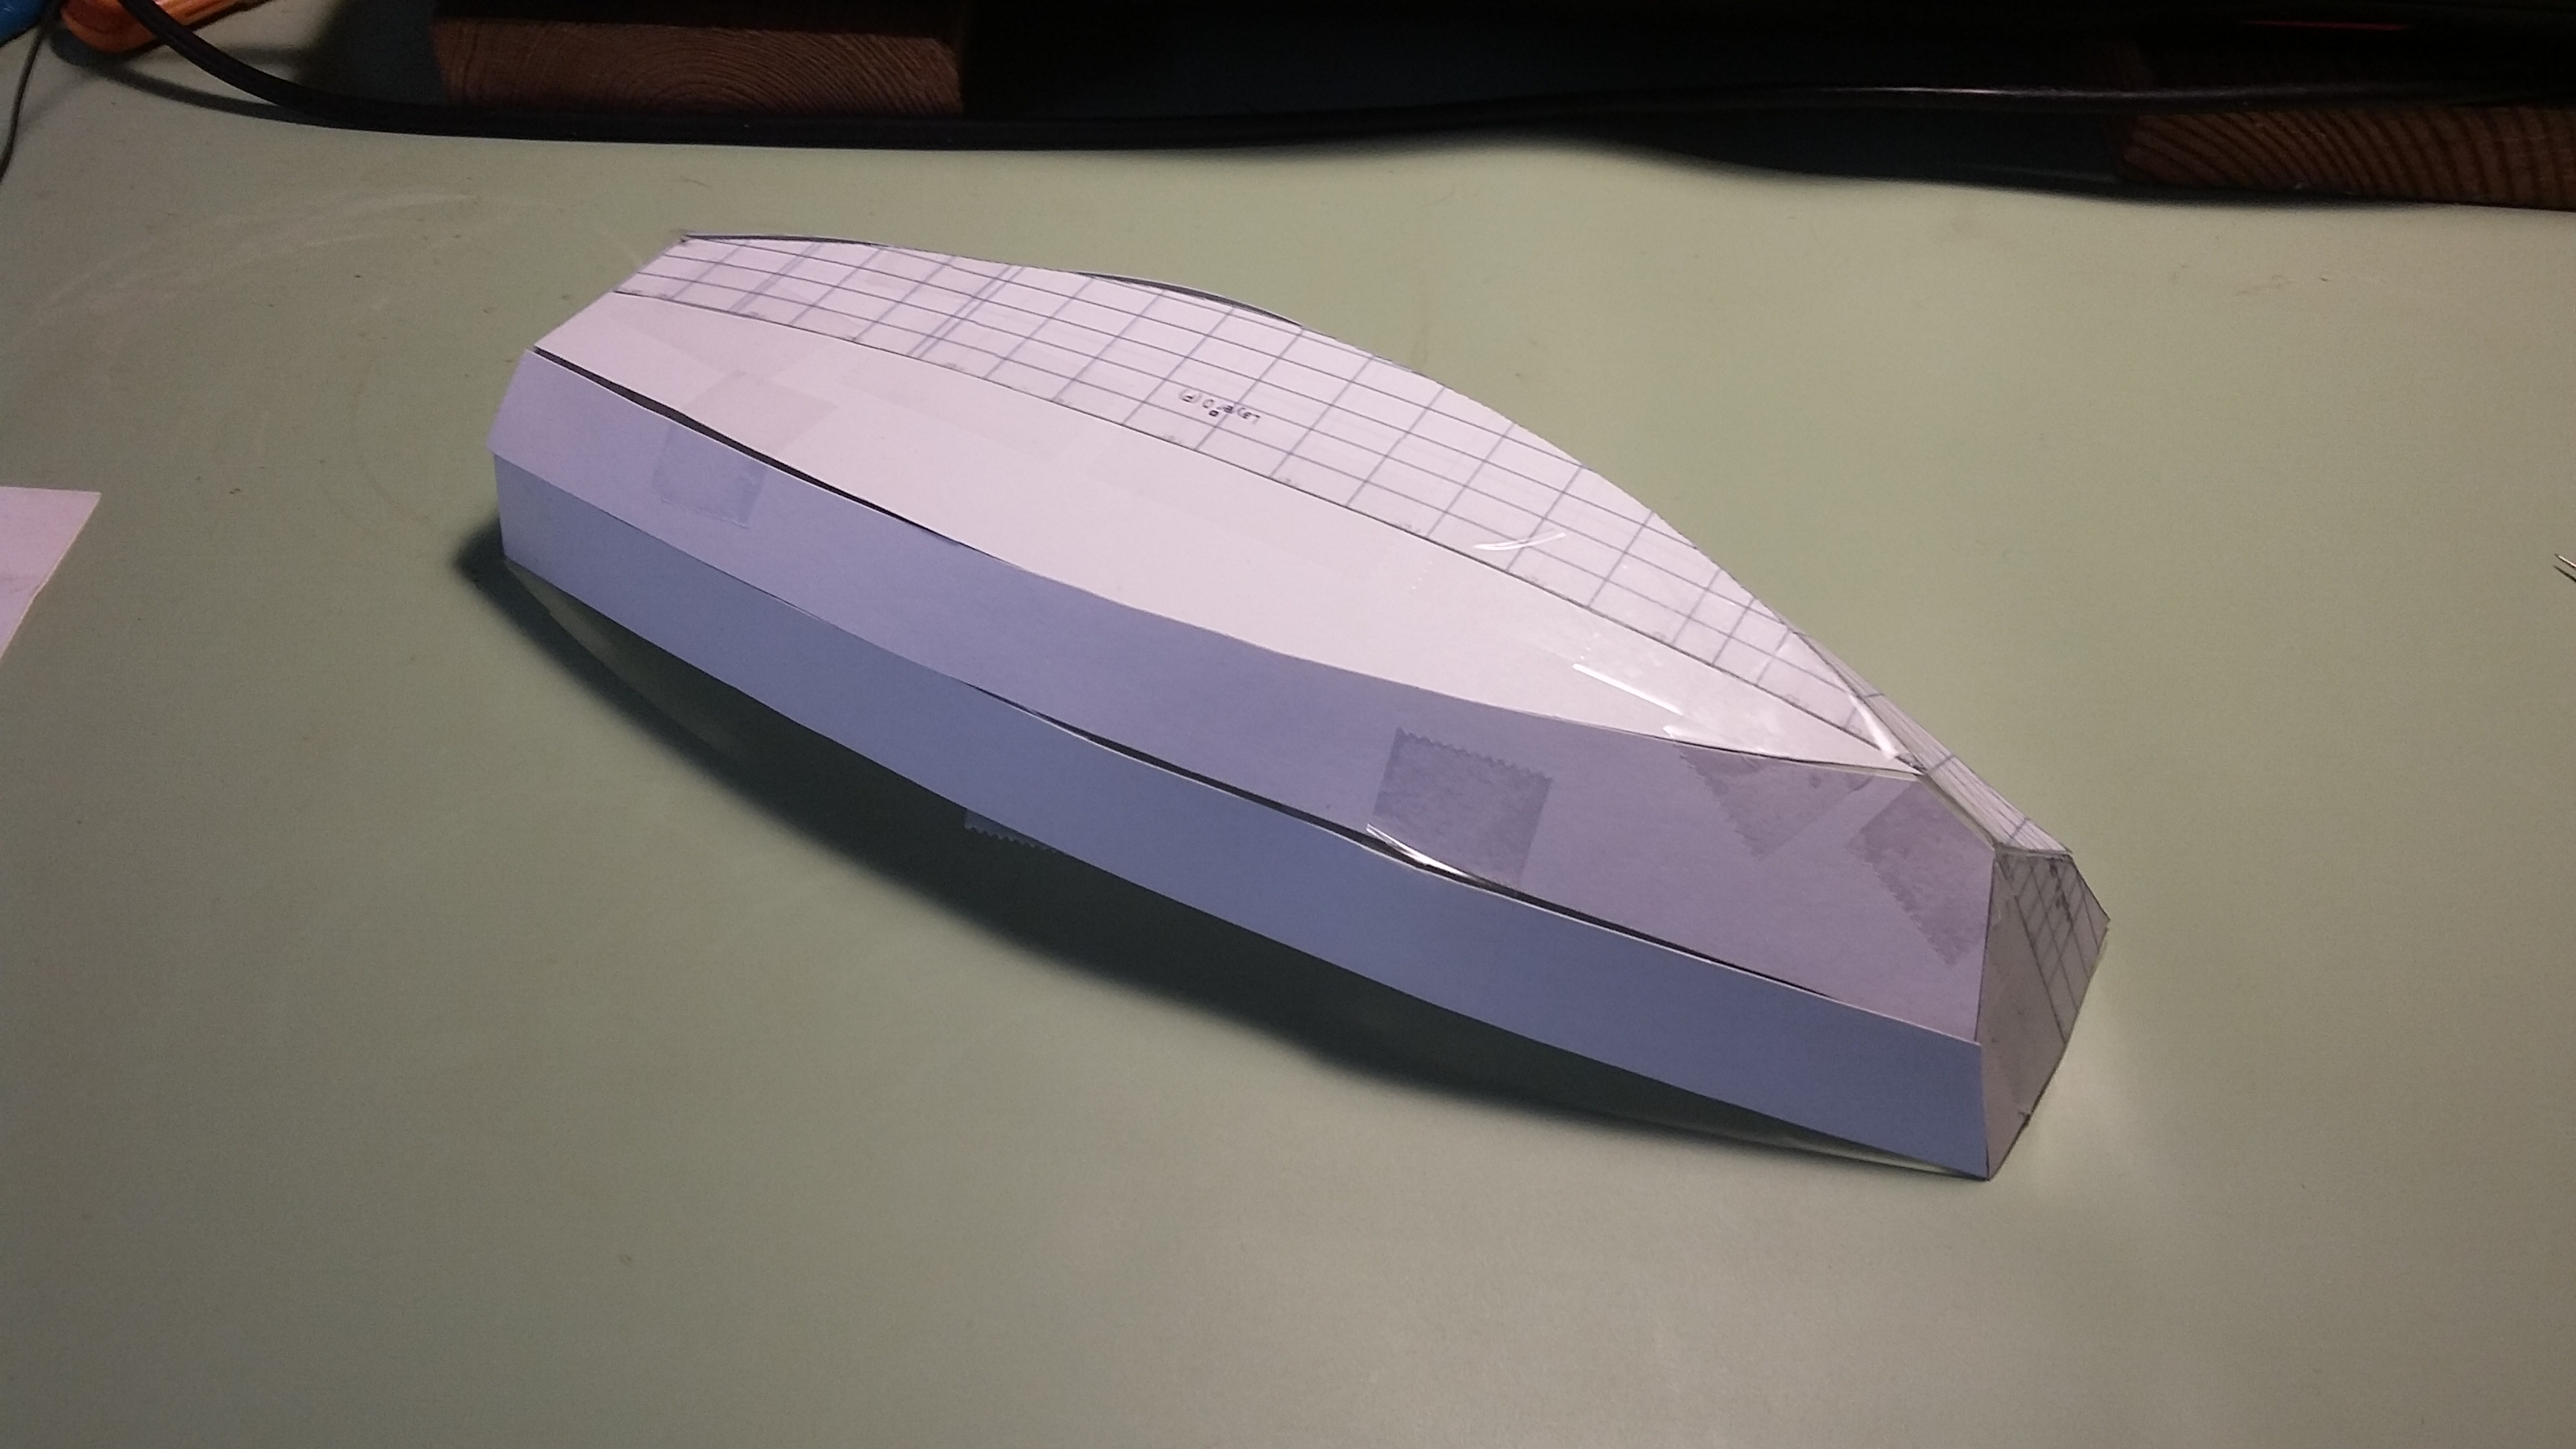
Tape the upper topsides to the stern transom. We establish the final shape by first pushing the middle of the lower topsides out till the edges meet with the bottom. Tape the lower topsides to the bottom on both (port and starboard) sides. Tape the bottom to the lower topsides under the bow, now you can see the bottom rocker. Finally tape the upper topsides to the lower topside panel about in the middle, then about 1/4 of the hull length from each end. Now you a very basic hull. You can see the shape could change with bulkheads to spread the topsides out a bit. A more complex model will incorporate bulkheads, deck, and cockpit.
-
External Links
- Sorry, no links have been posted

